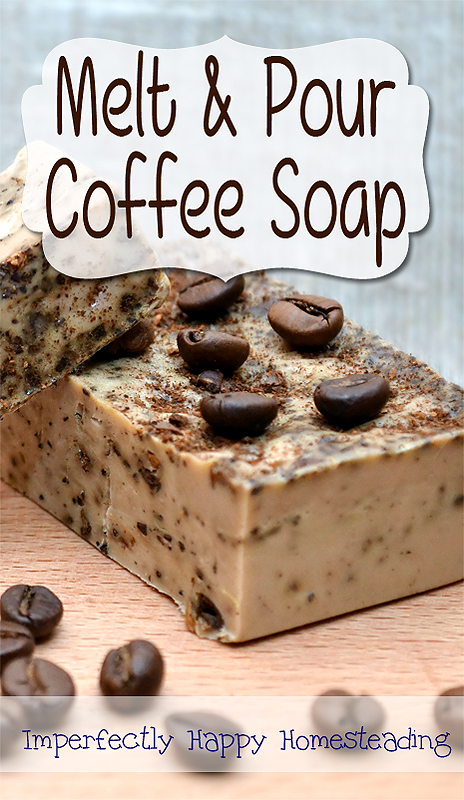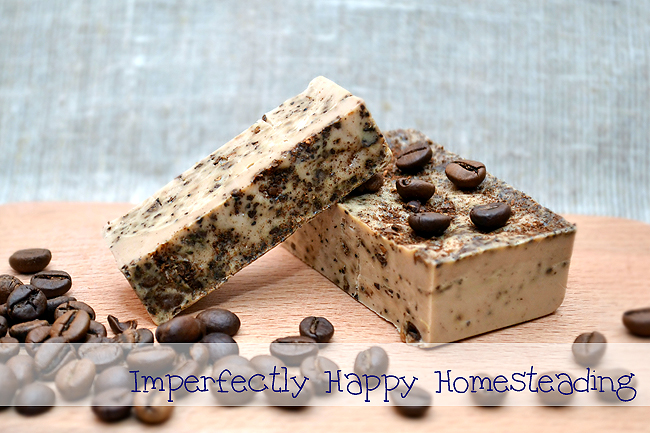
My melt and pour coffee soap is awesome for gardeners, chefs and anyone wanting some exfoliation in the shower! Easy and fast to make, this coffee soap smells divine. It is a great pick-me-up for your morning shower and it makes a wonderful gift for you’re coffee loving friends and family.
I know some of you may be asking why I don’t make the soap base myself. I’ve made soap from scratch, with lye and all that, and it is wonderful. I think it is an important skill for us to learn and share. However my time, at this point, is spent with animals, garden and homeschooling; melt and pour soap is a convenience for me. I like adding my own ingredients and customizing my soap but this just makes it easier for this time in my life. If you want to make your own soap base this you can still add the other ingredients.
Melt and Pour Coffee Soap Recipe
Ingredients
1.5 lbs Organic Goat’s Milk Soap Base (like this one)
1 Tablespoon of fresh ground coffee
1 Teaspoon of Almond Oil (like this)
1 – 1.5 Teaspoons of Fragrance, optional (scents you many want to consider – vanilla, coffee cake or cinnamon)
Tools
Soap Molds – you can use just about any silicone soap mold for this, depending on the look you want to achieve. I used a loaf mold for this one but usually I use individual bar molds because I don’t want to cut them into bars.
Double boiler for melting on stove top
Plastic or wooden spoon dedicated to soap making or crafts (not one you intend to use for food in the future)
Small spray bottle filled with rubbing alcohol
Directions for Making Your Melt and Pour Coffee Soap
- Get your double boiler ready
(I recommend you use a bowl or pan you’re going to use for food, this should be soap dedicated only) - Put your molds on a cookie sheet (cover with wax paper or the like, to protect from spills)
- Cut your soap base into chunks
- Gently melt the chunks in your double boiler on low to low medium – you don’t want to scald your base
- Remove from heat and quickly mix in your coffee, almond oil and fragrance into the melted base (but be careful, it’s hot!)
- Pour into molds, just short of the top
- Spray, generously, with the rubbing alcohol to prevent air bubbles
- Allow bars to harden for a few hours – you can put them in the refrigerator for an hour to speed this up.
- Be sure to carefully test the soap before trying to remove them.
- Once the bars or loaf is completely hardened pop them out and store in air-tight containers.
- They are ready to use immediately, no curing time needed.
- Package them up for gifts in brown wrapping and twine for a rustic feel, if you like.