Growing sprouts for backyard chickens is a wonderful way to supplement their diet, especially if they aren’t free-ranging. What I am talking about is NOT fodder. I’ve seen fodder grow in popularity lately and I love the concept; but my backyard farming friends have had mold, flies and mice in their fodder. So I decided that wasn’t for me. I prefer to grow my sprouts in dirt like the good Lord intended. 😉
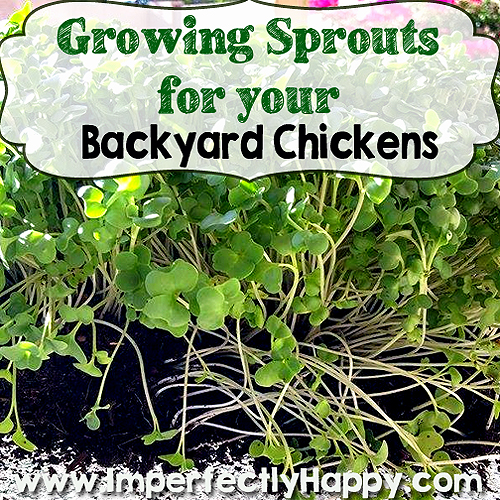
Growing Sprouts for Backyard Chickens
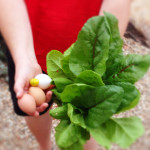
Our small flock lives in the burbs and most of the backyard is taken up by a raised bed garden. It doesn’t really allow for true full benefits of free ranging. But I still want uber healthy hens and dark yolks in their eggs…bring on the greens!
Why Sprouts for Backyard Chickens?
So why should you grow sprouts for backyard chickens? Well if the pure joy isn’t enough reason, then lets talk nutrition. Sprouts offer the hens fresh greens and are rich in antioxidants and vitamins; they are also high in protein. They are a terrific treat that is actually nutritious! The chickens love getting a bit of the soil raised sprouts. I break off about 1/4 – 1/3 of a tray each day and toss it right into the coop yard. This encourages the natural behavior of pecking and scratching for food too. They love it and there are never any leftovers.A Chicken in Every Yard: Guide to Chicken Keeping![]()
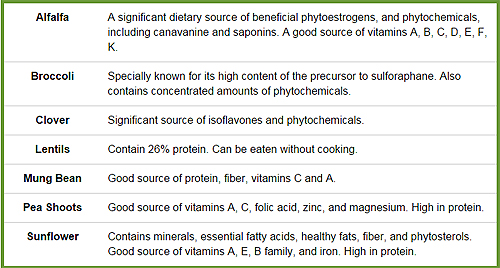
Not convinced? Check out the nutrition packed into sprouts!
Which Sprouts for Backyard Chickens?
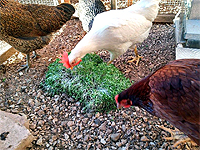
Girls enjoying some broccoli sprouts.
I tend to grow the same sprouts for the hens that I do for my family – sunflower, broccoli, pea, alfalfa and occasionally wheat grass. I haven’t found that the girls like one sprout more than the other so feel free to use what ever sprouts you have readily available.
I don’t use bean sprouts or grains other than wheat; but I know others that do. I basically sprout what my family enjoys eating too.
The seeds from Territorial Seeds has a nice selection of organic sprouting seeds that you and your hens will appreciate!
How to Grow Sprouts for Backyard Chickens
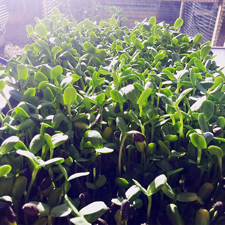
Lovely sunflower seeds soaking up the sun.
I am using the trays that we use for our own sprouts, that I got from Dr. Mercola’s system. The top tray has potting soil and the sprouts in it; that tray has holes to allow for drainage. The bottom is solid and catches any water overrun from the top tray. I grow 2 trays at a time, right on my patio table, and I haven’t had any trouble with mold or pests.
Here is how I am growing my sprouts:
- Measure out 1.5 cups of sprouting seeds and add those to a quart sized mason jar.
- Fill the jar with water (filtered if available) and put the lid on.
- Soak the seeds for 8 hours, then drain and rinse. Repeat until you see a little white sprout.
*I have skipped the repeating steps and it worked fine, just took longer to grow. - Fill the top tray about 3/4 of the way with a good organic potting soil.
- Spread the seeds out evenly, and gently.
- Top lightly with some more of the potting soil. Not much, just enough that they are not exposed.
- Water. I keep mine on our patio table where they get indirect sun and I water 2x a day.
It is that easy. You’ll have sprouts ready for you and your hens in just a few days (sunflower seeds take a little longer than the others). If you want to eat some you can use scissors and cut a few off right above the soil. When I feed them to the girls I just lift the sprouts out of the tray and break of 1/4 – 1/3 of the tray for them. Our flock is only 4 lovely ladies so you should adjust the amount for your flock.
So what are you waiting for? Let’s get sprouting!