Today I bring you my recipe for Honey Whipped DIY Hand Cream. There are only 4, all-natural, ingredients; and they are shelf stable, so you can keep it around for while. This whipped DIY hand cream is great for the dry hands we get in the winter months and for gardeners in general. I like that we can use this lotion without worrying about the chemicals and preservatives that are in most stuff at the store. I love that it is virtually scent-free. Even with essential oils it isn’t perfumey or over powering (however my dogs try to lick my feet when I first put it on). My honey whipped DIY hand cream doesn’t stick around long, because we all love it!
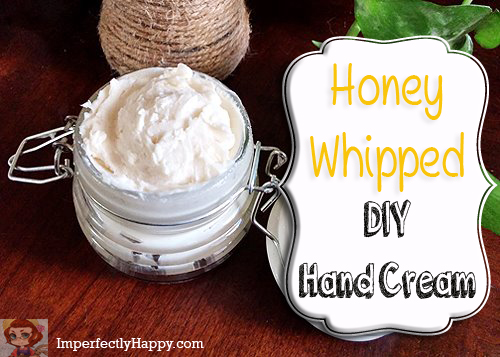
Honey Whipped – DIY Hand Cream
The ingredients for this DIY hand cream are few and reasonably priced – you’ll be able to make a lot or just a little as needed. I have linked up all the ingredients for you in the recipe.
Ingredients
4 oz of Organic Extra Virgin Coconut Oil
4 oz of Unrefined Organic Shea Butter
3 Tablespoons of Honey (preferable local, and raw if you can get it)
2 Teaspoons Organic Pure Vanilla Extract (optional)
20 – 30 drop of your favorite essential oil (I like this Frankincense for it skin healing properties)
Double boiler or glass bowl and pot
Hand Mixer
Glass container/s for storage
Steps for Honey Whipped – DIY Hand Cream
- Measure your ingredients out into your glass bowl or double boiler
- Over medium heat melt all the ingredients
- Cool completely (1 – 2 hours) in the refrigerator until mixture solidifies
- Use a spoons to scrape the mixture from the side of the bowl (don’t worry if there is honey at the bottom, it mixes in)
- Add essential oils, optional
- Whip with hand mixer
- Transfer to glass container for storage
Use this Honey Whipped – DIY Hand Cream to keep hand, heels and elbows smooth and crack free. I like to keep it on my bedside table so and can put it on just before bed. This makes a great gift – just add a cute ribbon and tag.
*In the warmer months this can melt a bit, you can keep it in the fridge for a cooling treat. 😉
Never miss a post ~ Sign up for the Imperfectly Happy Newsletter