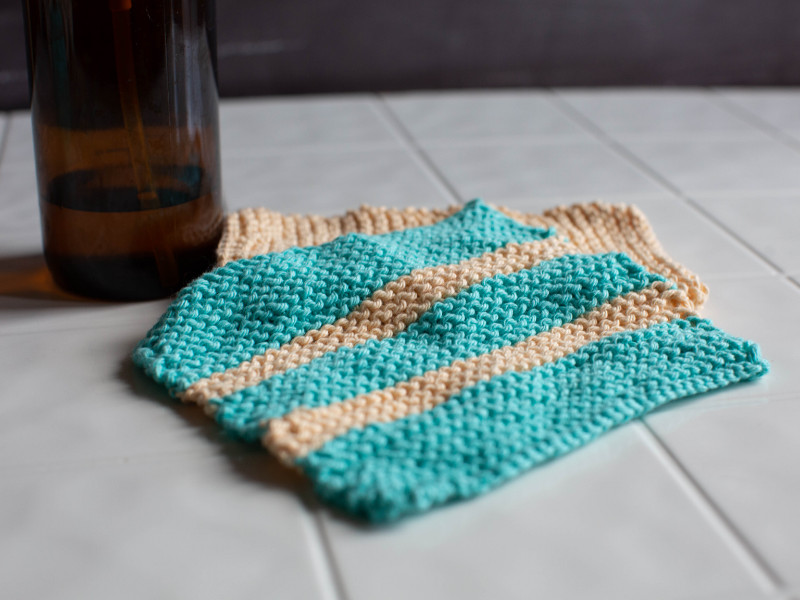
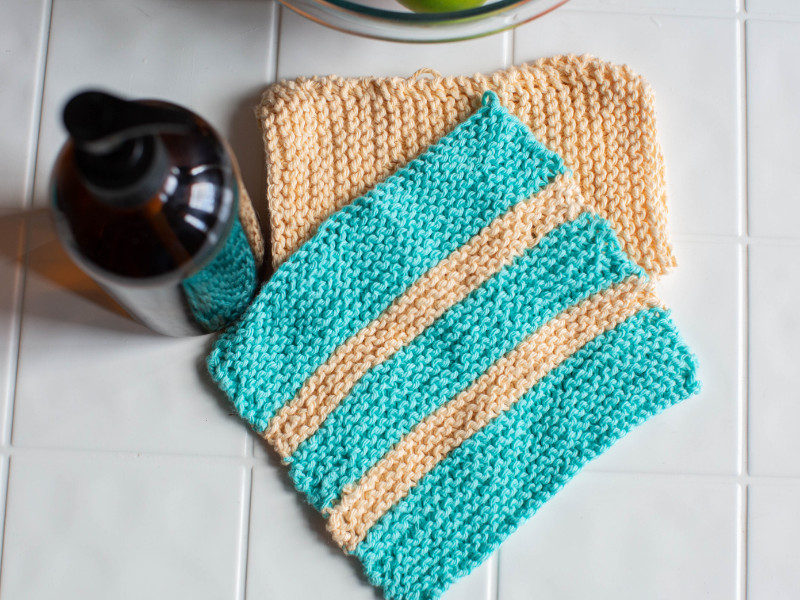
How to knit a dishcloth – this is a very basic dishcloth made with only knit stitches. Not only is this the perfect first project for beginners; these dishcloths are useful and super-absorbent.
Truth be told I am not a great knitter. I actually do more loom knitting than anything else these days. But I believe knitting is a valuable vintage skill that should be learned and passed down!
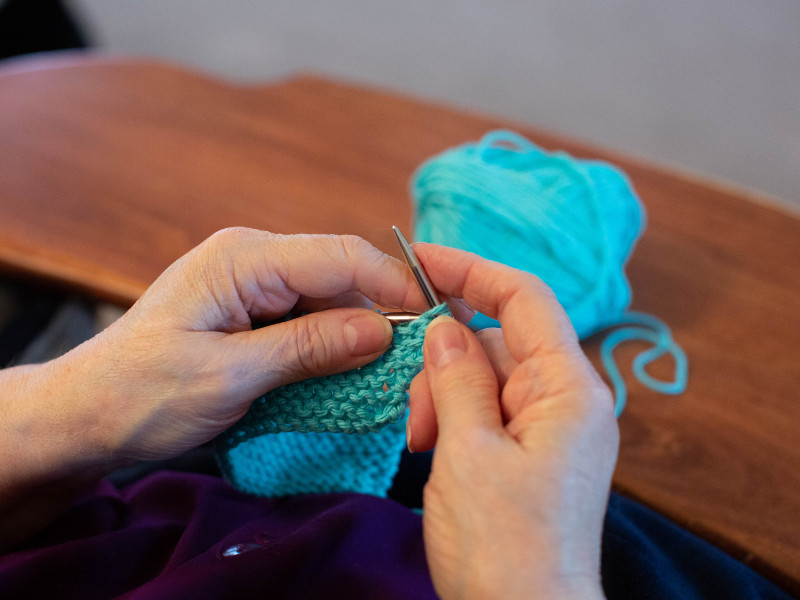
This is truly a beginner project and I have step by step pictures included for you to follow. You definitely can do this, even if you’re just learning to knit.
Knit a Dishcloth for Beginners
Materials Needed for Knitted Dishcloth
- Cotton Yarn I like Sugar ‘N Cream 100% Cotton Yarn
(2 of these skeins will make 3 of these dishcloths) - Size 6-9 knitting needles
- Embroidery needle
How to Knit the Dishcloth with Step by Step Instructions
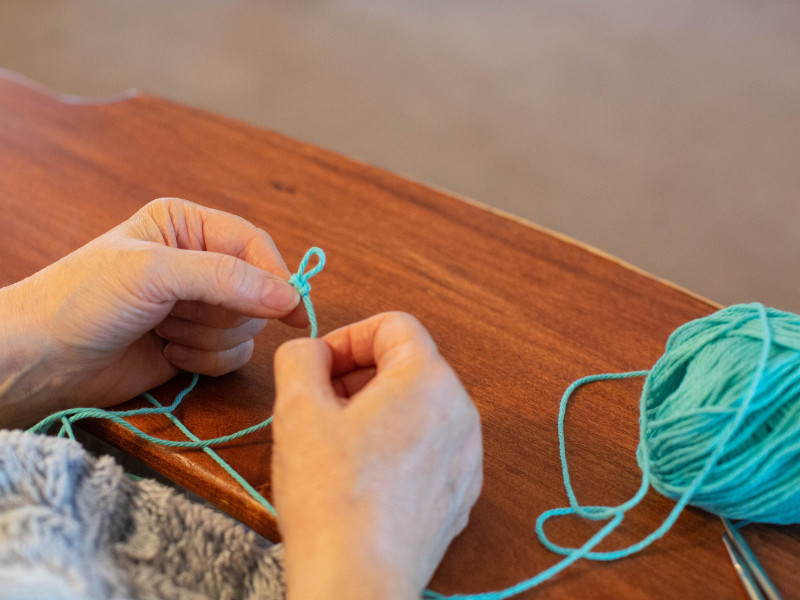
Slip Knot & Casting On
- Start by making a slip knot in your yarn, leaving a 3-4 inch tail.
- Place your slipknot onto the left-hand knitting needle.
- Wrap the working yarn (from the ball) around your left-hand pinkie, to help you guide it.
- Now you will cast-on your first knit stitch.
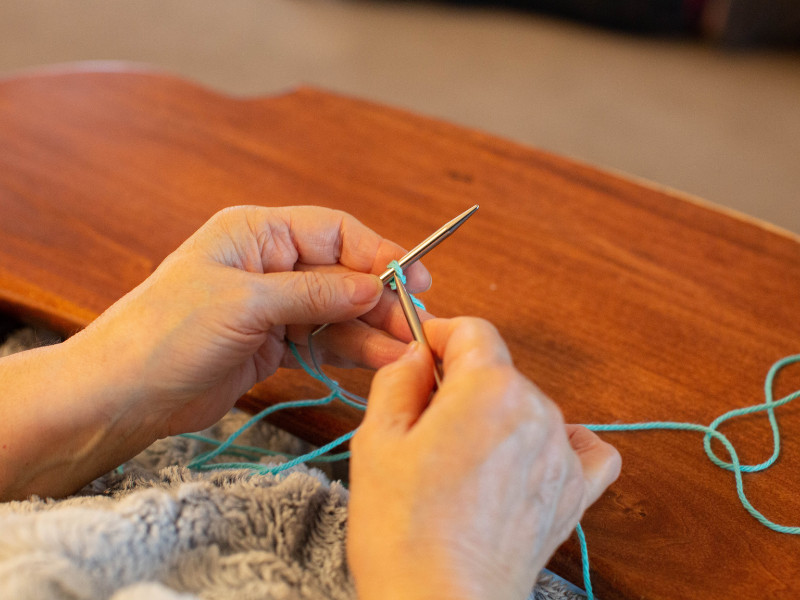
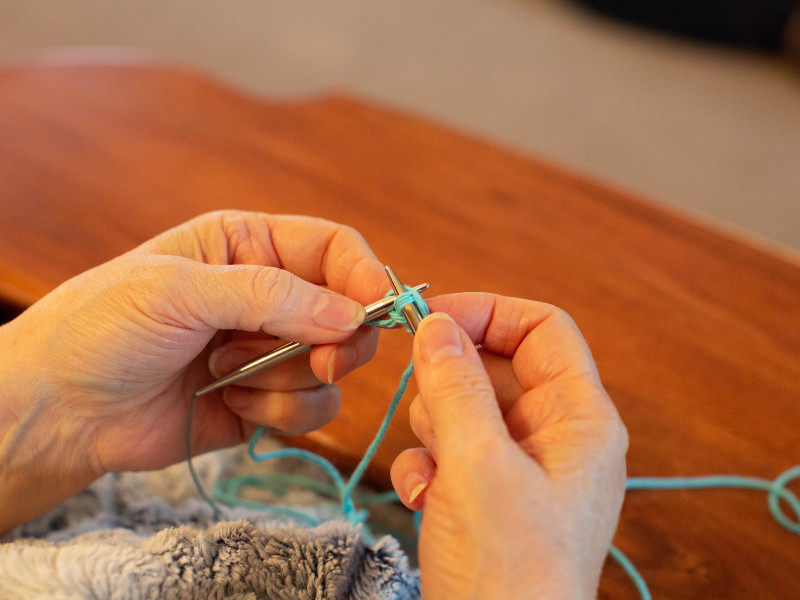
- Insert point of right needle from front to back into the slipknot on the left needle, opening up a stitch.
- Catch the working yarn with the right needle. Pull the yarn through the opened stitch (using your fingers if you need to help you move it).
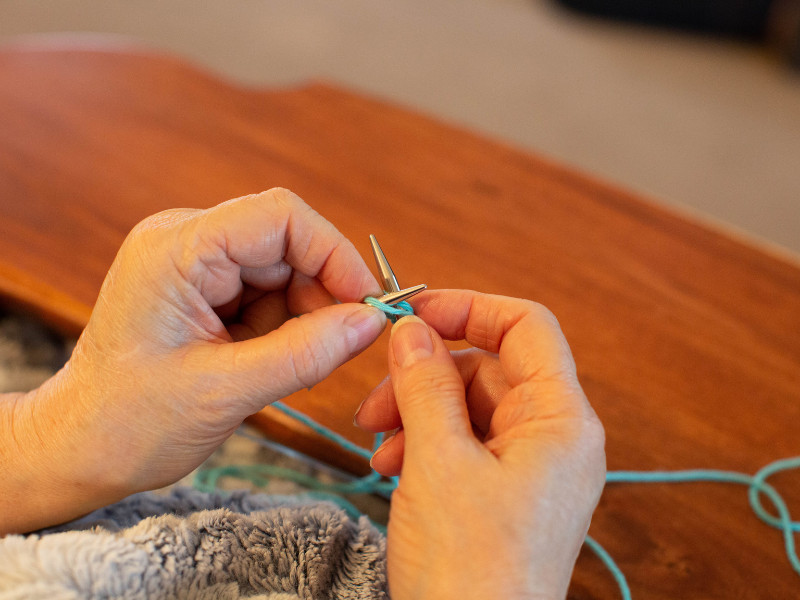
- Slip cast-on stitch off the left needle while holding your middle finger against the second cast-on stitch to ensure it does not also slip off. The stitch on the right needle is the newly formed knit stitch. You should now have two stitches on your left needle.
- Continue to cast-on stitches until you have 30 on your left needle.
You have now finished your cast-on row.
Knitting the Basic Dishcloth
- Switch your needles (your left-hand needle is now your right-hand needle). Continue to hold your working yarn in your left hand. You will now begin your second row.
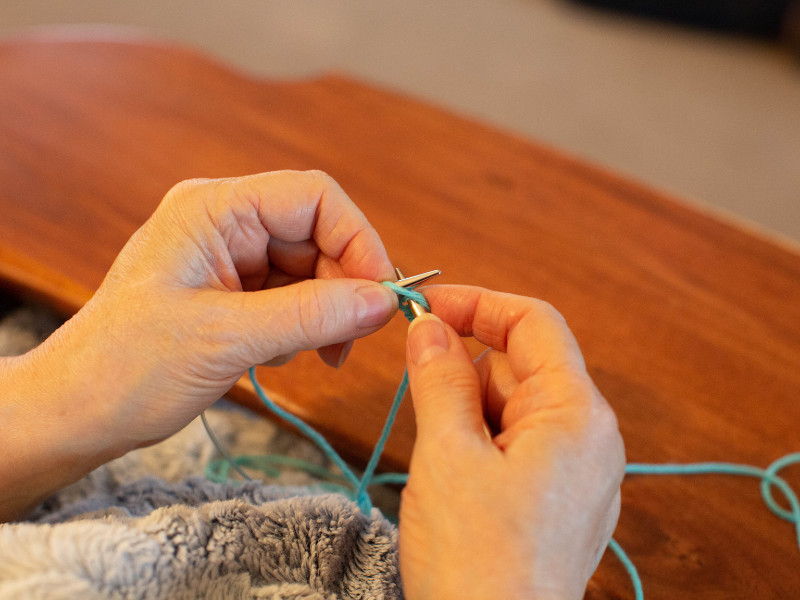
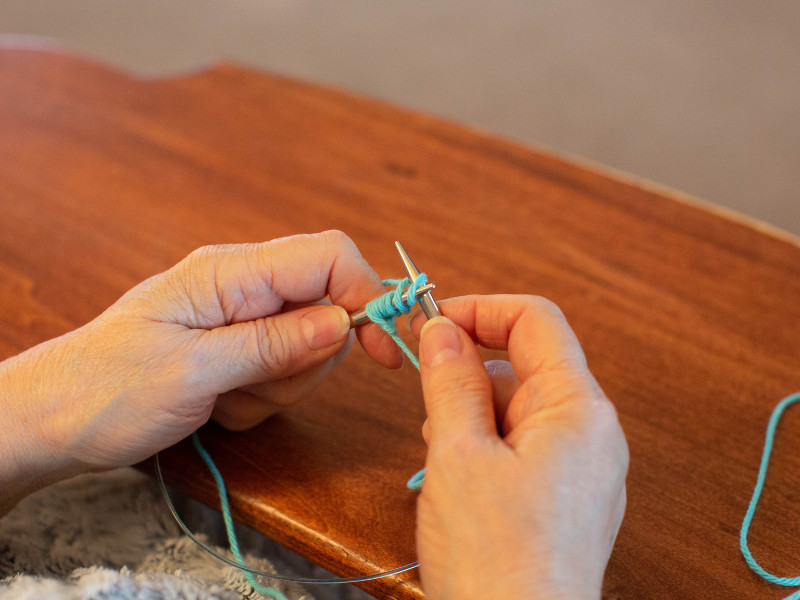
- The Knit Stitch– The knit stitch is very similar to the method you used to cast-on. Insert the tip of the right needle, from front to back, into the first stitch (just like you did to cast-on).
- Catch the working yarn with the right needle. Pull the yarn through the opened stitch (using your fingers if you need to help you move it).
- This time, instead of slipping the new stitch onto the left needle, you will place it on your right needle. This is your first stitch of your first row (not counting the cast-on row).
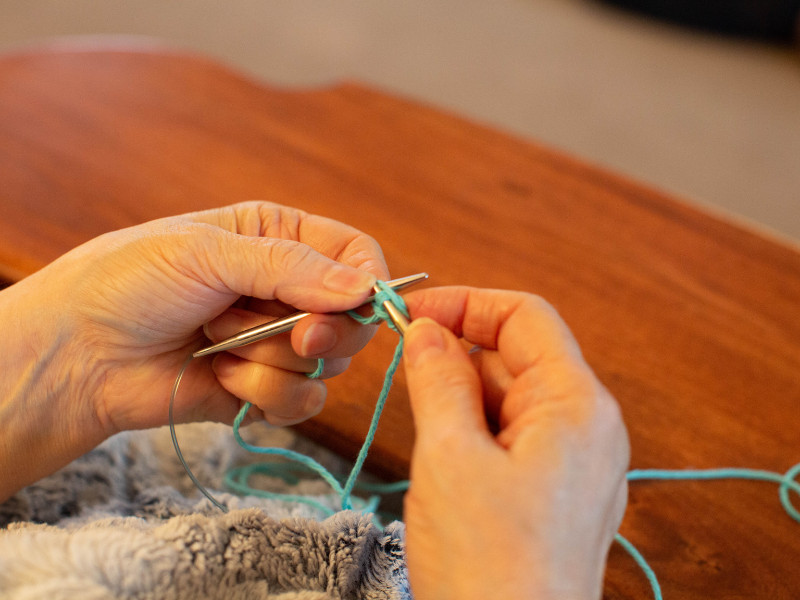
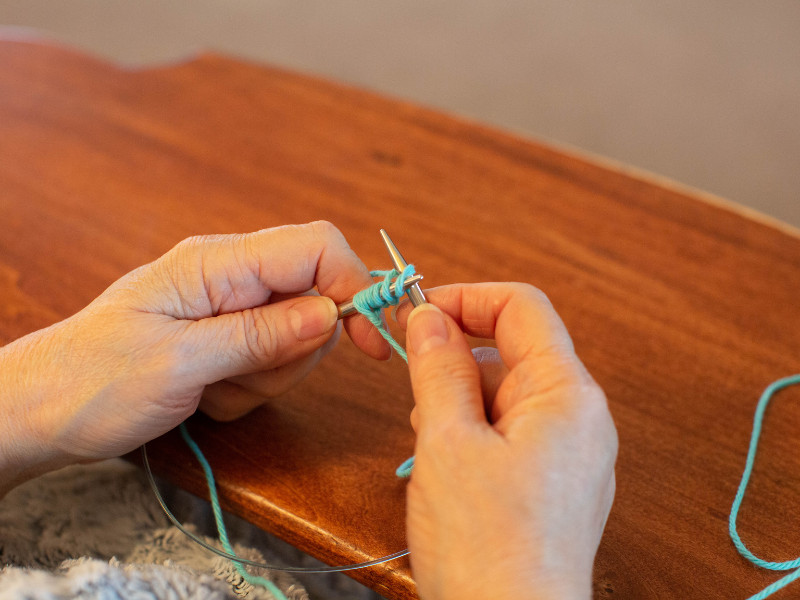
- Continue this with each stitch. Once you reach the end of the row, turn your work, and switch needles to begin a new row.


Casting Off & Finishing Your Project
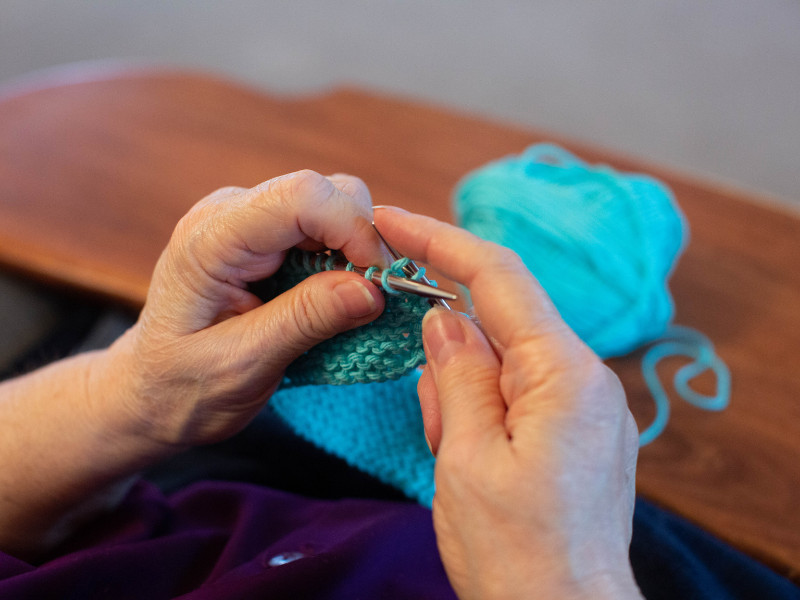
- Cast-off: this is how you finish your work. It is very simple once you know how to do the knit stitch.
- Slip the tip of the right needle into the stitch (just like you are knitting). This time, instead of slipping your stitch onto your right needle you will lift this stitch up over the second stitch and off the needle.
- Continue until all stitches have been cast off. Cut the working yarn, leaving a 3-4 inch-long tail. Pull the tail through the last stitch to secure. Use your embroidery needle to weave the loose end through a few stitches, then cut if off.
The Knit Dishcloth Pattern:
- Cast on 30 stitches.
- Knit for 30 rows.
- Cast off all stitches.
- Weave in the loose end.
Knitting Videos That Can Help
How to Cast On
How to Knit Stitch
How to Cast Off
More on Vintage Skills
15 Vintage Skills That Can Be Learned On YouTube
Vintage Skills 10 More We Still Need in the Modern World
Home Economic Skills to Teach Your Kids
10 Important Vintage Cooking Skills You Should Have