If you would like to start preparing some of your own food that you can store and save for later, you have likely looked into the idea of canning. One of the things that you should know how to do to preserve some of your favorite fruits, vegetables, and other food items is to complete a water bath with your jars. The water bath process is an important step that will help you preserve the things you want to save.

The Purpose of a Water Bath
The purpose of a water bath is to help you preserve the food you are preparing, making it possible for you to store those items on a shelf instead of getting stuck filling your refrigerator with the jars. It is a process that allows you to efficiently seal your jars, keeping air from getting inside and potentially spoiling your ingredients. It works on food with higher acidic levels than others. When done correctly, you may be able to preserve items, such as pickled vegetables and jams, for several months or years before you eat them.
How Long Does It Take to Do a Water Bath?
Although it is a crucial step, it is a simple step in the canning process that does not take long. On average, it will take around 10 minutes to complete a water bath. If you are using larger jars, you may want to keep them in the boiling water for an extra five minutes to make sure you have fully sealed them.
After the proper amount of time passes, you should set your pot off to the side and give the water an additional 15 minutes to cool before you start pulling your canned food items out of the water. It would help if you waited to avoid burning your hands while grabbing your cans from the boiling water to set them off to the side on a shelf.
Which Canned Foods Can Get Prepared in a Water Bath?
There are many tasty food items that you can add to a water bath to preserve. While you cannot do it with everything, consider completing a water bath when you want to store some of the following items:
- Strawberry Preserves
- Apricot Jelly
- Sliced Pickle Spears
- Pickled Cabbage
- Cherry Pie Filling
- Apple Pie Filling
- Tomato Salsa
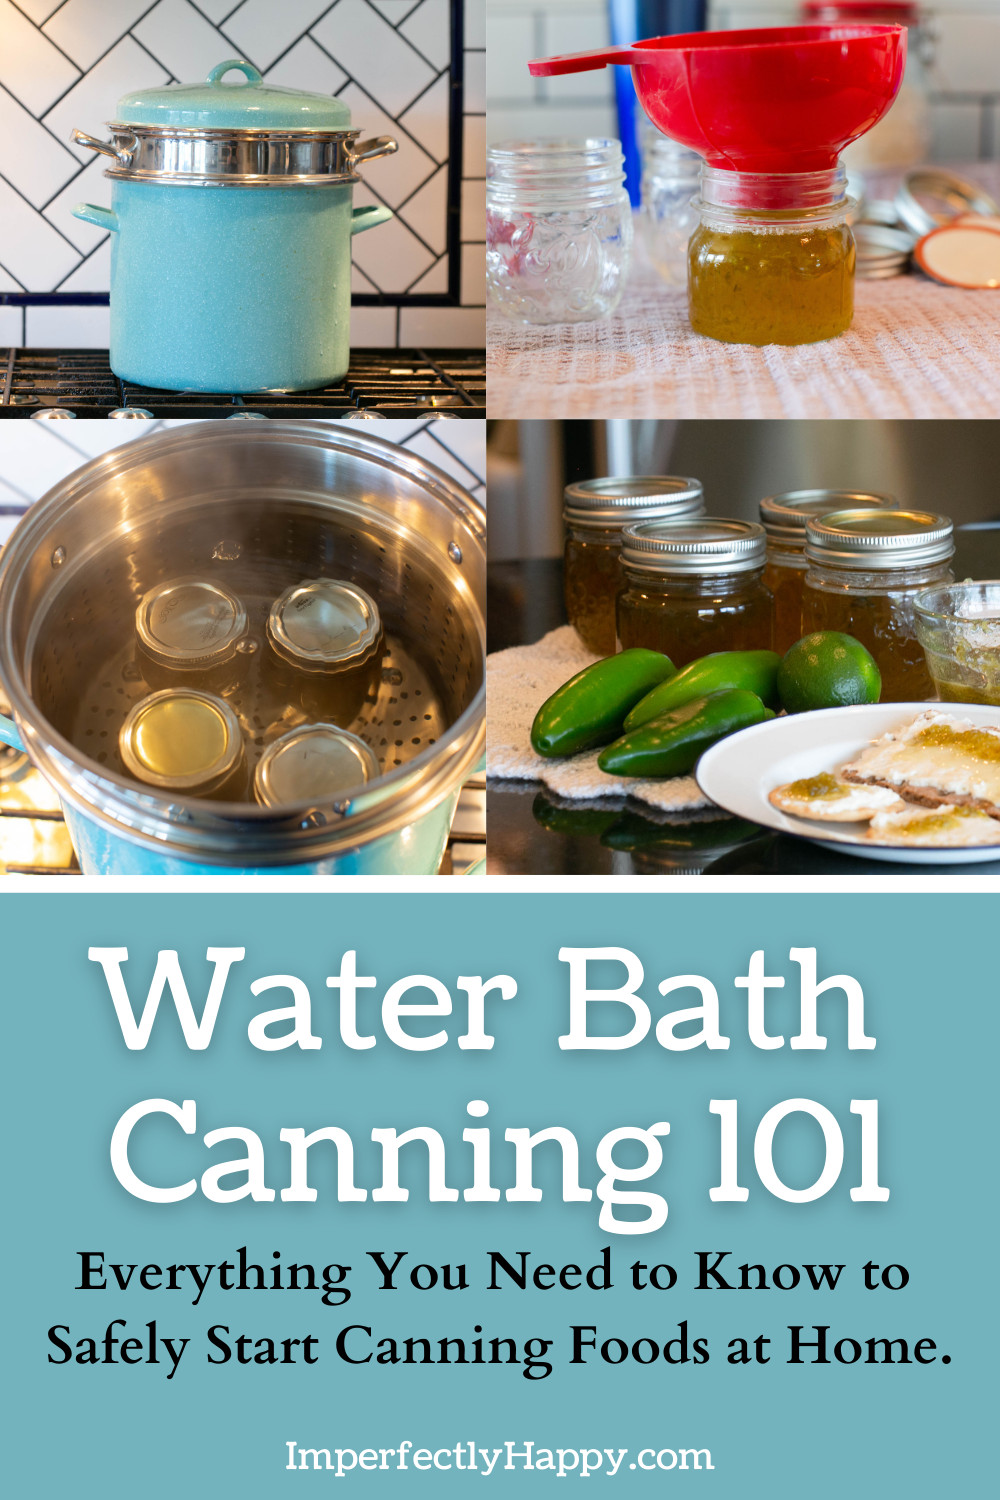
Jalapeno Jelly Recipe Canning – the Imperfectly Happy home
These are just a handful of the items you can prepare in a water bath to preserve their shelf life. Anything that is highly-acidic should be perfectly fine to add to a water bath. Whether you are making filling for a pie, assorted varieties of pickles or even preserves that you can spread on your favorite bagel or toast, water bathing is a great solution.
How Do You Place the Cans in the Water?
If you follow the water bath canning method, you need to place your jars in the water correctly. Instead of putting them in standing up on the glass, you should flip them over and make sure the jars’ lids are submerged in the water. It is good to put the cans in the water with the cover first to help with the sealing process. You need to seal your jars if you want to keep the contents inside them as fresh as possible.
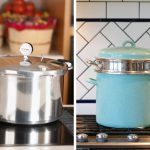
Do You Need a Rack to Do a Water Bath?
You need to have a rack to do a water bath, but it does not matter what type of rack you decide to use. Look for any rack that you have around the home to complete the water bath canning process. The reason you need a rack is to keep the jars from hitting the bottom of the pot. While you want them submerged in the boiling water, you need them to be slightly elevated instead of sitting at the bottom. Don’t forge a jar lifter!
Do You Need to Use a Pressure Canner?
You do not need to use a pressure canner for water bath cleaning, but it is an option to consider. If you already have a pressure canner at home, using it for the water bath is easy. You would need to add enough water to the pressure canner to ensure that your jars are covered.
Adding about two extra inches of water into the canner is ideal before getting started. Instead of using the lid that comes with the canner, consider using a different cover that fits perfectly on top to keep boiling water from spilling over.
If you do not have a pressure canner, do not worry! It is not a must-have piece of equipment for water bath canning. You can use a large pot that you might have available in your kitchen. The large pot will still get the job done just as well.
You may want to consider investing if you plan to start pressure canning later.
Is It Necessary to Preheat Jars Before a Water Bath?
You do not have to preheat your jars before completing a water bath, but it is a good idea and will help you save a bit of time. Not sure how to preheat the jars? It is as simple as you can imagine. You would need to set your oven to about 200F and then wait until it starts to reach that temperature.
Spread your cans out in a row on a large baking sheet, place inside the oven on the bottom rack, and allow the jars to get warm for about five minutes. Once those jars get hot, carefully pull the baking sheet with the jars out of the oven, add your contents to them, attach the lid to the jar, and begin the water bath process.
The water bath step is an important step that you should do when trying to complete the canning process. You may have decided that you want to start canning because you can save money while preparing all kinds of pickled vegetables, jams, spreads, and more. If this is something you would love to do, knowing how to complete a water bath with ease is necessary. When you do the water bath correctly, you can keep your prepared food fresh for much longer by extending its shelf life. Now that you know everything about water bath canning, you can complete this step with ease!
More On Water Bath Canning
Jalapeno Jelly Recipe for Water Bath Canning
Common Canning Mistakes that Need to be Fixed
75 Free Canning Recipes for Beginners and Experienced Canners
National Center for Home Food Preservation
The Ball Book of Home Canning and Preserving Step by Step Recipes!
Water Bath Canners
Where to Buy Canning Jars